Adding Seam Granit After Being Laid
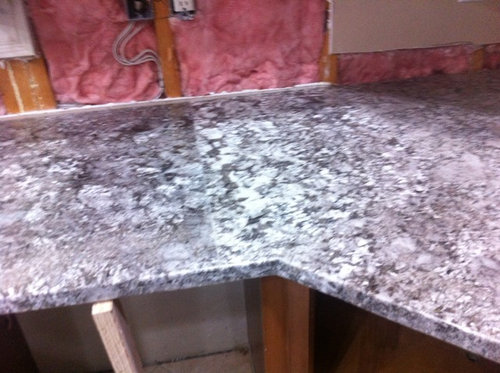
Is This Granite Seam Acceptable
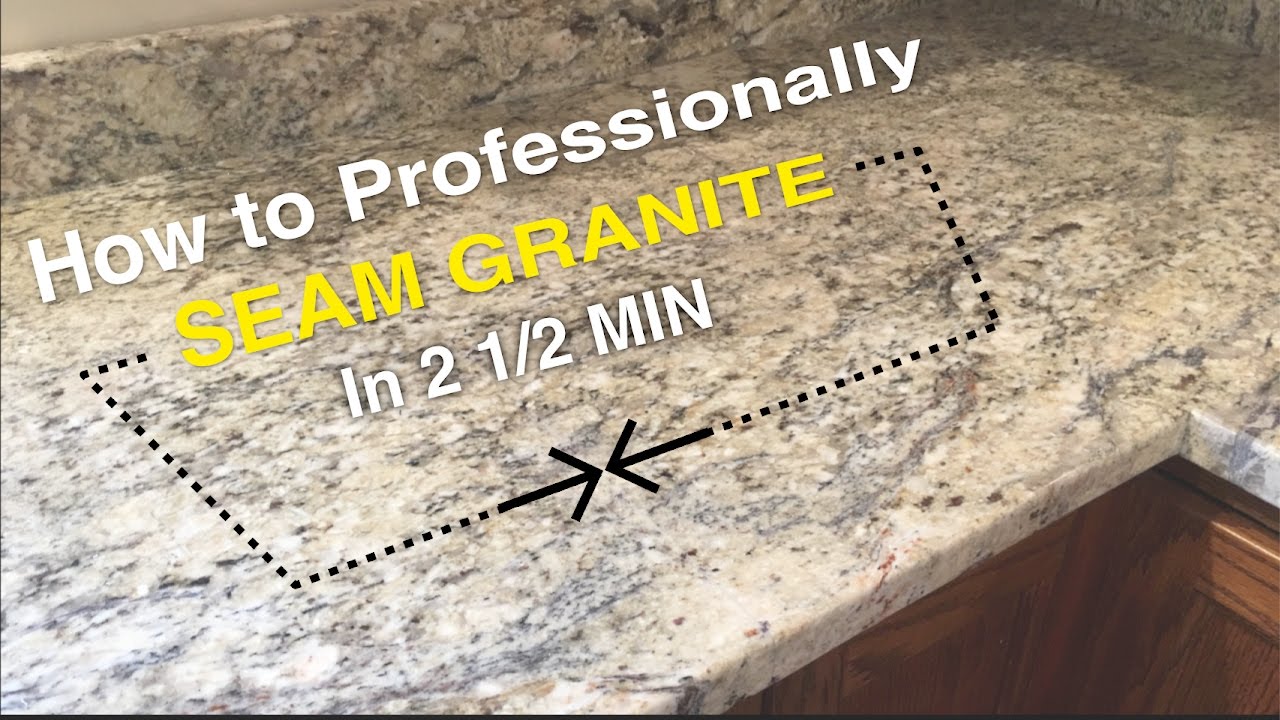
How To Seam Granite In 2 1 2min Youtube

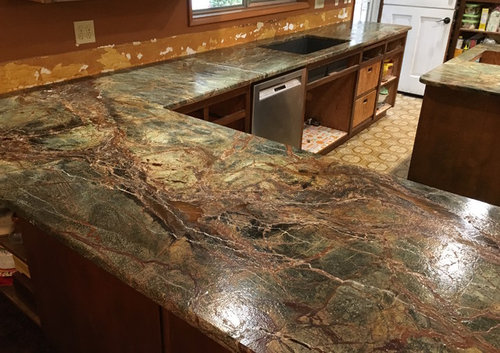
This Kitchen Granite Counter Top Had A Broken And Loose Seam With Wide Gaps And Missing Stone Epoxy Granite Countertops Kitchen Granite Countertops Countertops

Does My Stone Countertop Need To Have Seams Let S Get Stoned
Need Advice On Countertop Seam Disaster
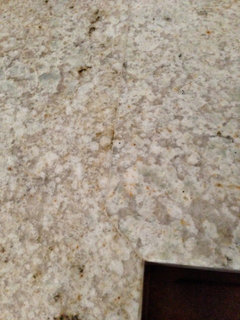
Is This Granite Countertop Awesome Or Awful There S A Obvious Seam

Butter the edges of your granite with your activated epoxy.
Adding seam granit after being laid. Aligning the seam and adding clamps 1. It s best to place granite countertop seams in areas that aren t seen much. After all the thicker the stone the stronger it will be and the less susceptible to damage. Both 2cm and 3cm have these characteristics.
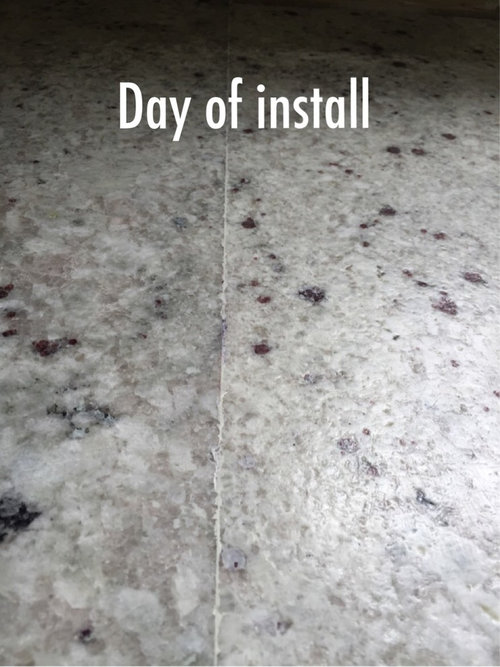
You can put seams in sink cutouts but this may make the seams more obvious and constantly under use and stress. Putting the granite in place setting the seams and caulking. The weakness in granite and any natural stone comes from its veins and dry seams. Judging from your photo the sink run looks to be way longer than a standard slab then add the fact that you chose the super fragile volga blue as your stone there looks to be no way out of a seam.
Lay the 2 pieces of granite side by side. For a granite countertop apply an even coat by a paint pad brush or roller and allow the sealer to penetrate the surface for 15 to 30 minutes. Once the cabinets are found to be within the permissible levels our installers will lay the pieces of the granite in place on the counters. But they harden quickly after being mixed.
If the sealer has been absorbed by the granite after the first coat simply repeat the first step. The seams dont look perfect but volga blue is a very brittle stone that chips easy in fabrication so this seam looks acceptable from that stand point. However a 2cm slab of granite is more prone to weakness as a result of them. You can save stone while minimizing the size of the seams.
Stick each pair of suction cups on either side of the granite seam. You ll have 10 minutes or fewer to work with the mixed epoxy before it hardens.

The Perfect Seam Custom Granite Quartz Countertops Nananaimo Custom Granite Granite Quartz Countertops Quartz Countertops

Formica Basalt Slate Countertops Honed Finish Pencil Edge Update After Two Years Of Having Black Laminate Countertops Laminate Countertops Slate Countertop

What Should I Know About Seams In My Granite Granite Quartz Countertops Quartz Countertops Marble Granite
Granite Seam Opinions
Hiding Seam On Granite Using Sharpie Pen Or Artist Materials

Closeup Of Book Matched Seam On Kitchen Island Courtesy Of Yk Stone Center Carrera Marble Kitchen Marble Island Island Countertops

Granite Counters With Stacked Stone Backsplash Yelp Stacked Stone Backsplash Stone Backsplash Stacked Stone

The Perfect Seam Custom Granite Quartz Countertops Nananaimo Brown Granite Countertops Countertops Outdoor Kitchen Design

Beautiful Invisible Seam Ornamental Granite Kitchen Countertops Light Cabinets Level 1 Granite Granite Countertops Kitchen Countertops Granite Kitchen

Aphrodite Granite Love This Color Blue Granite Granite Granite Countertops

Granite Countertop Seam

Granite Countertops San Antonio San Antonio Granite Inexpensive Kitchen Remodel Condo Kitchen Remodel Simple Kitchen Remodel

The Perfect Seam Custom Granite Quartz Countertops Nananaimo Quartz Countertops Custom Granite Granite Quartz Countertops

